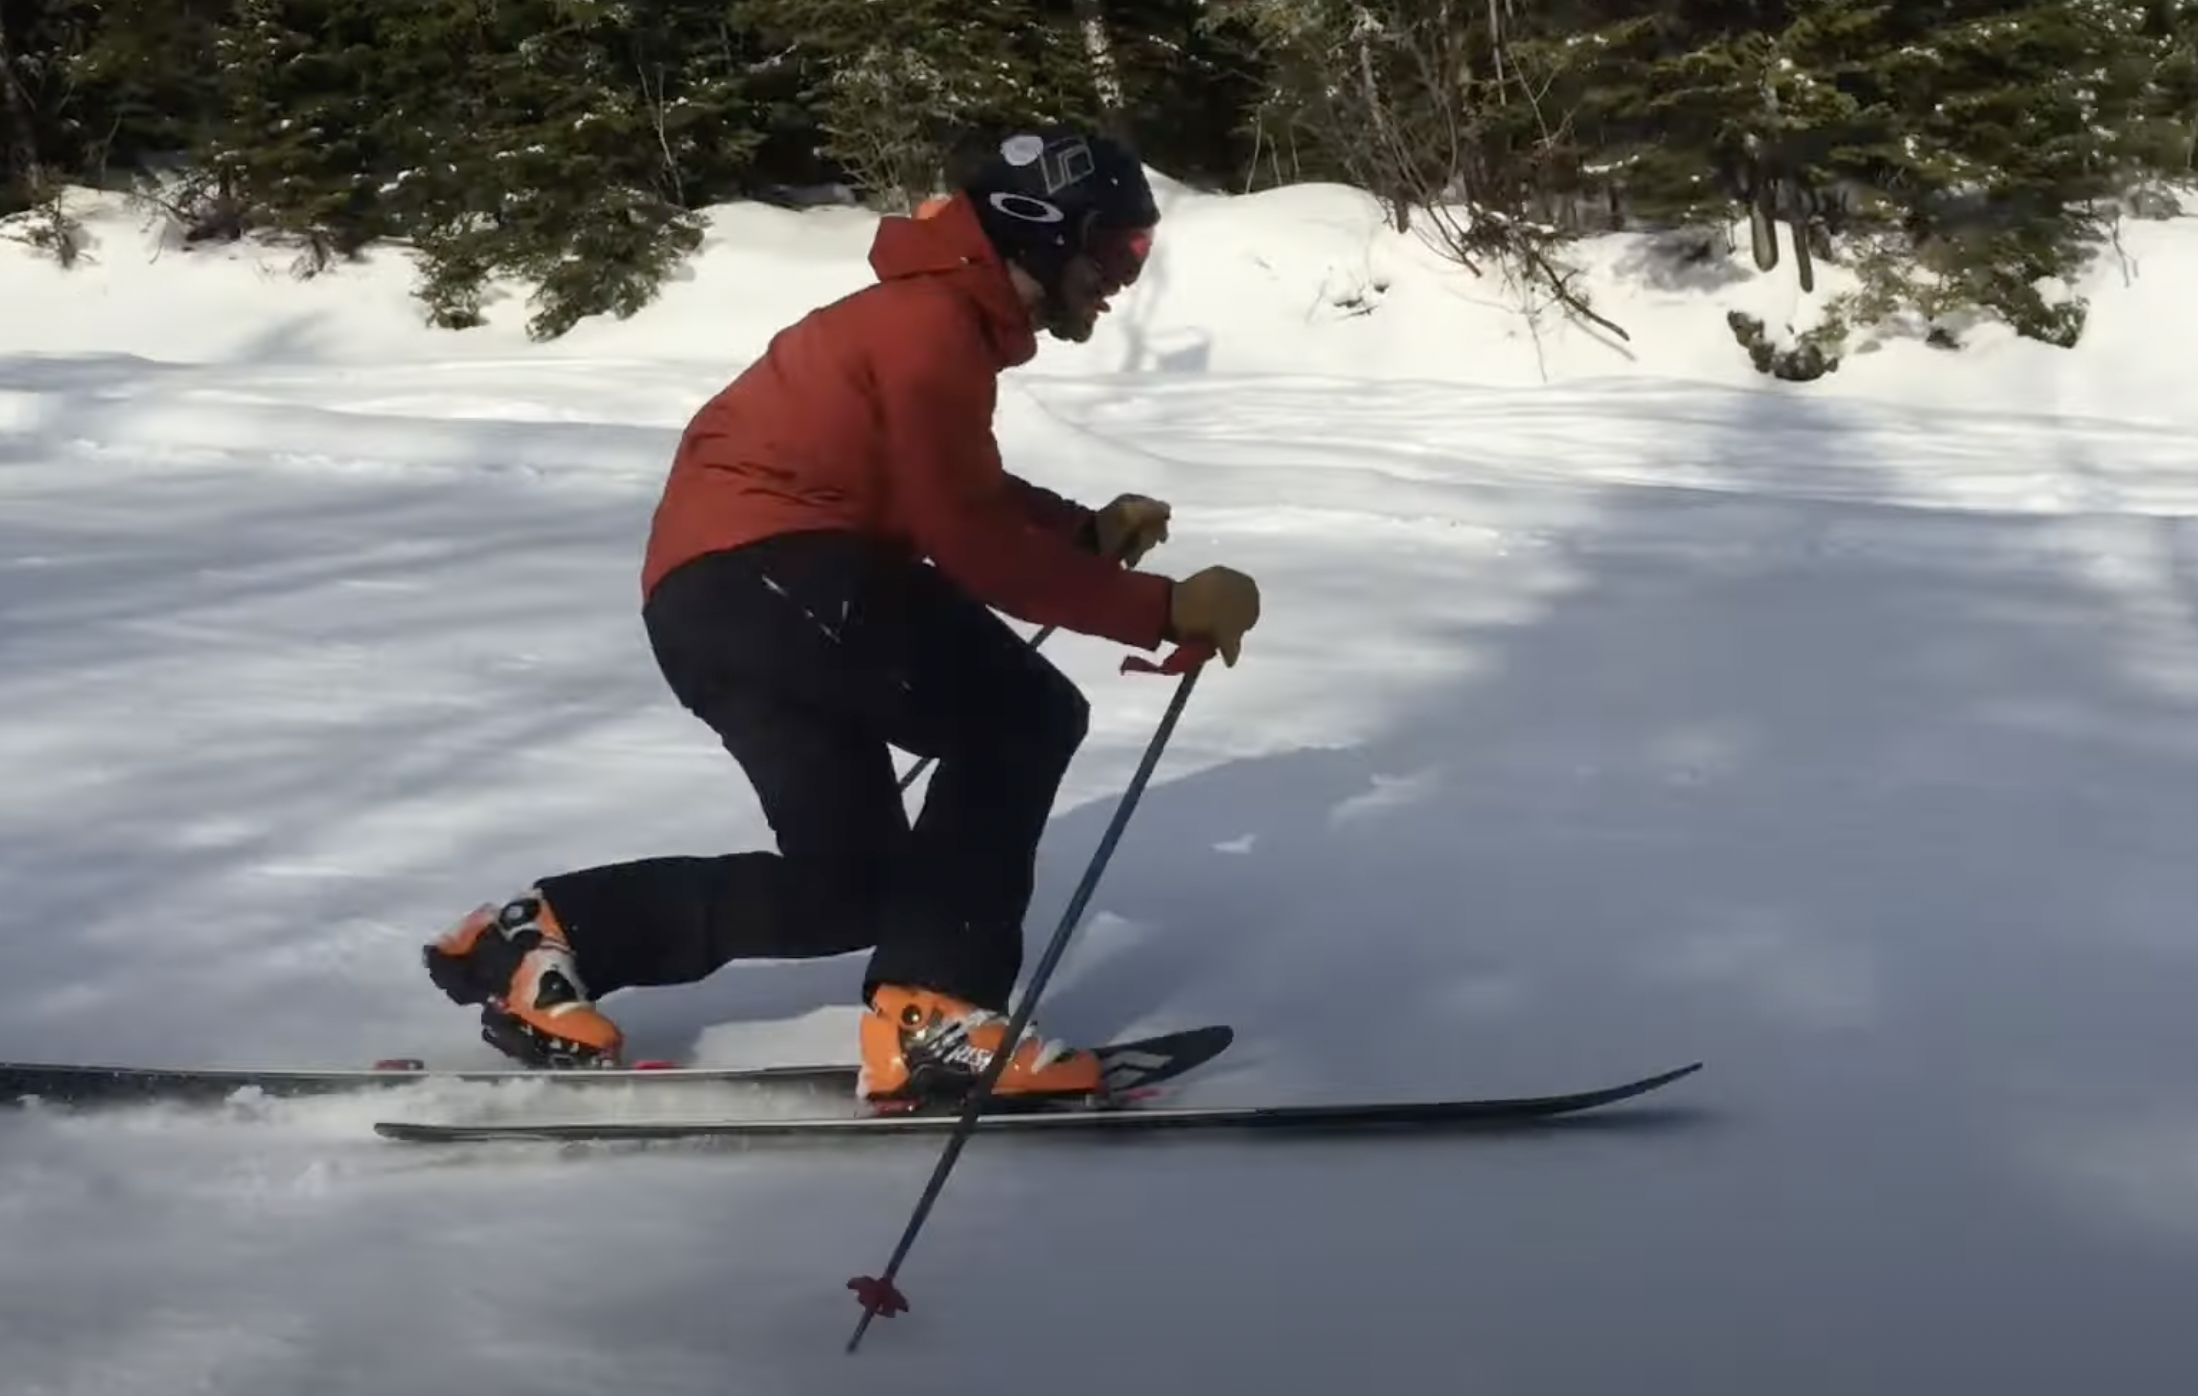
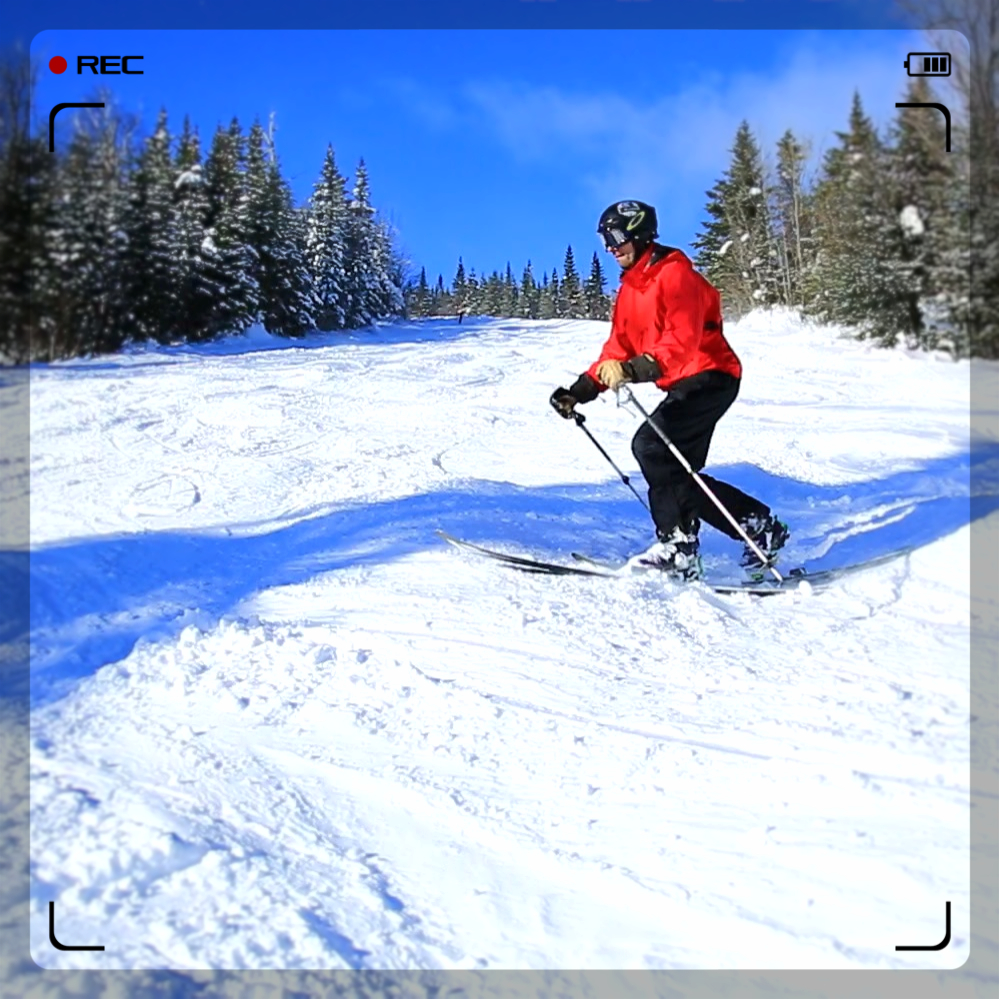
My Passion for Carving on my telemark

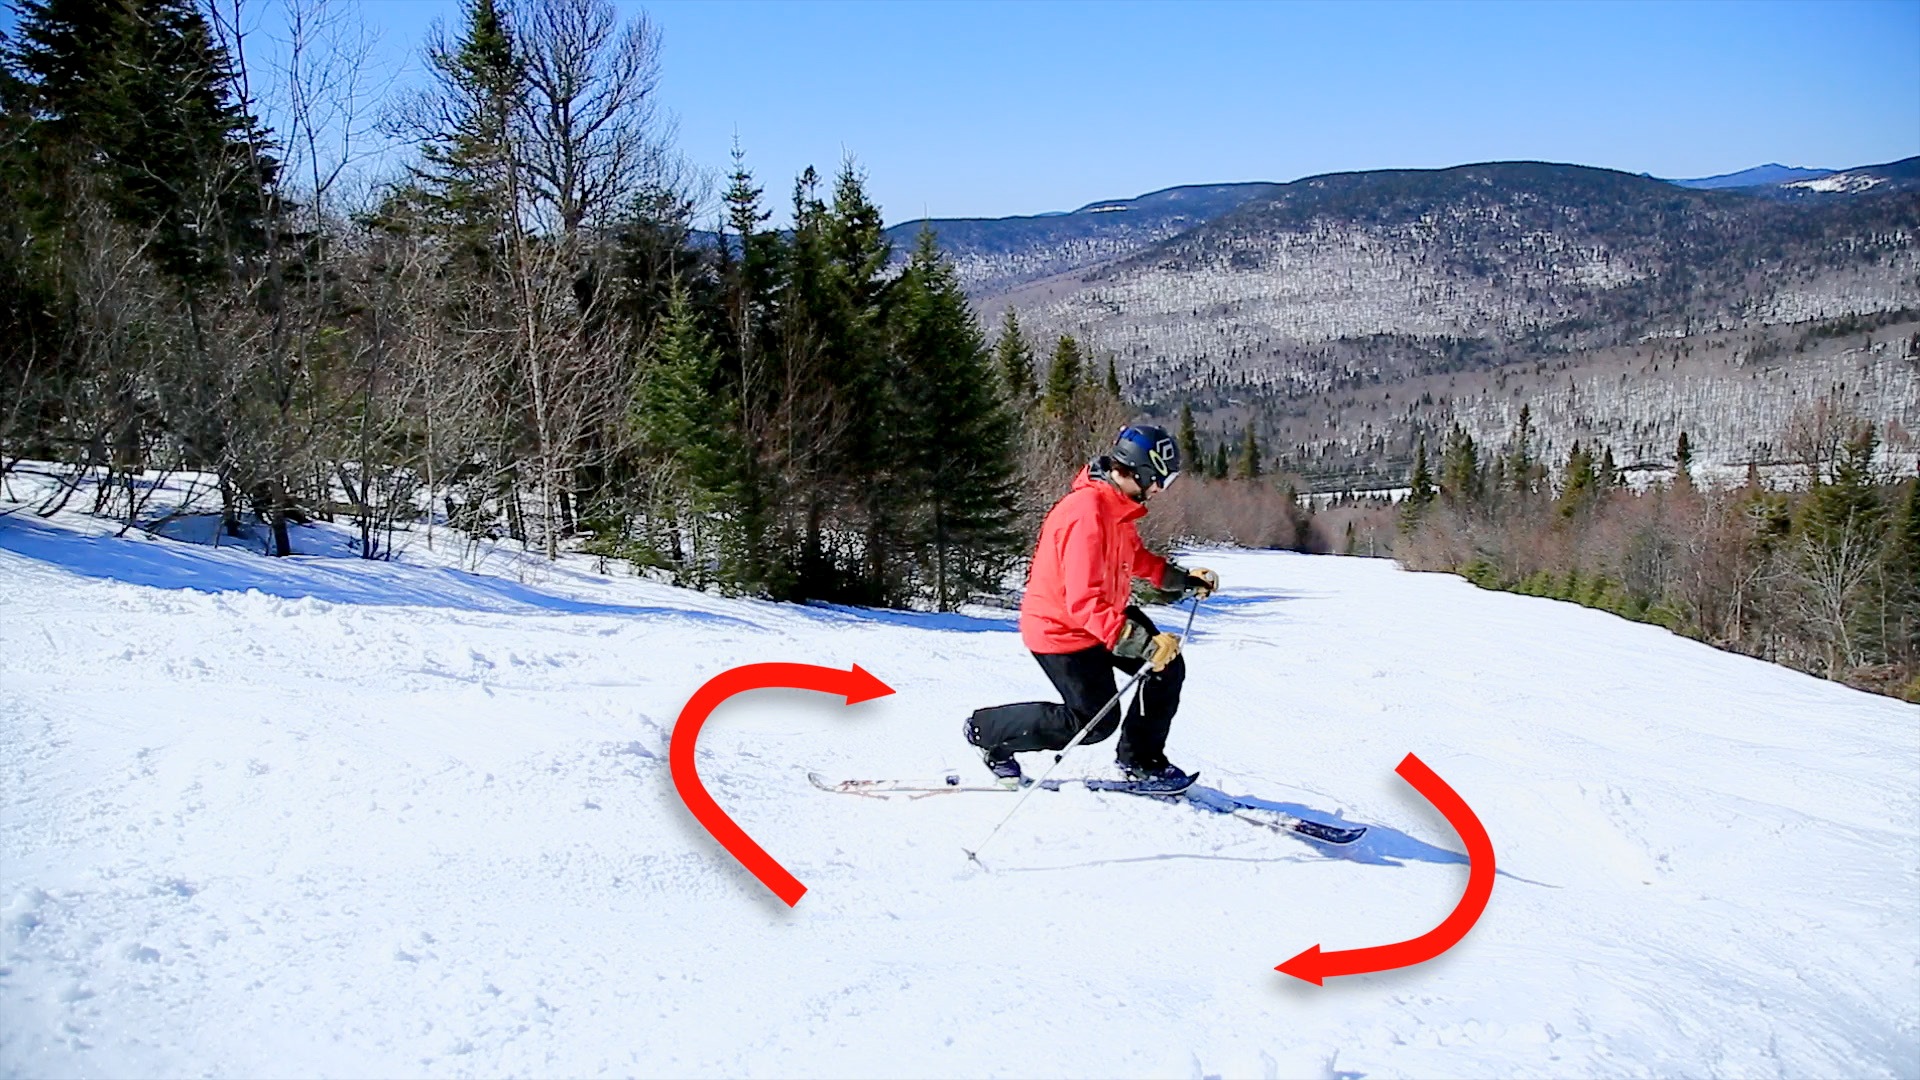
Telemark carving

One of the most difficult techniques to master is

Carving on Telemark Skis.

Compared to moguls or steep skiing, I feel that carving is a more complex technique to master.

And in the last 4-5 seasons, I really focus on improving my carving.

I’ve been carving for 20 years but the ability to carve on any surface and slope is definitely still a challenge. I would say that my first passion as always been powder tree skiing. Then, I spent a lot of time in moguls,it is only in later years that carving has become a real passion.

I’m lucky enough to have probably the best technician in Canada, Denis Vezina, teaching at my home resort. He represents Canada at Interski. His telemark technique is flawless, and he has the ability to dissect my skiing better than anybody. His knowledge has allowed me to improve significantly my technique.

Here are the things I think I’ve changed or improved over the last five years. Note that these are tips are what made a difference for me. It’s areas I focussed and that has given me results.

If you want more general tips on how to carve, check this post here.

Telemark Carving Skis

OK first I got real carving skis. One GS and one Slalom ski that I mounted on NTN Freerides. This is a game changer for sure, especially my  Salomon slalom with 13 m of radius.

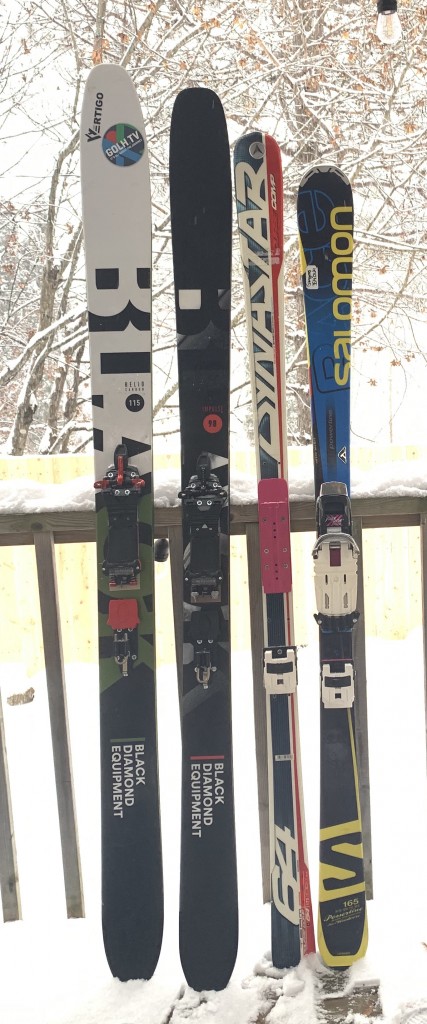
Here are my quiver for 2022.

From left to right:

Black Diamond Helio 115 (2020-21) with Meidjo 3 and alpine heelset. Powder skis used almost exclusively in the backcountry

Black Diamond Impulse 98 (2021-22) with Meidjo 3 and Alpine heelset. All Mountain skis that I mainly use for resort skiing, ski patrolling, slack country.

Dynastar Speed Course Comp 64 GS skis (2007) with Rotofella NTN Freeride (with switch plate)

Salomon X-RACE 65 (2013-2014) with Rotofella NTN Freeride (with switch plate). This is the ski I use the most to focus on my carving.
telemark ski 2022


Those two skis although older are SO much better on groomed snow than any skis I’ve ever tried. Really, it’s cheating compared to a 90mm modern ski.

Both hold an edge like crazy and speed is not a problem.

I use the Salomon the most. I love the short radius feeling. But I will spend a lot of time of the Dynastar GS ski in this season to try to master this beast of speed. It’s crazy how you need some serious courage to really push a GS ski.

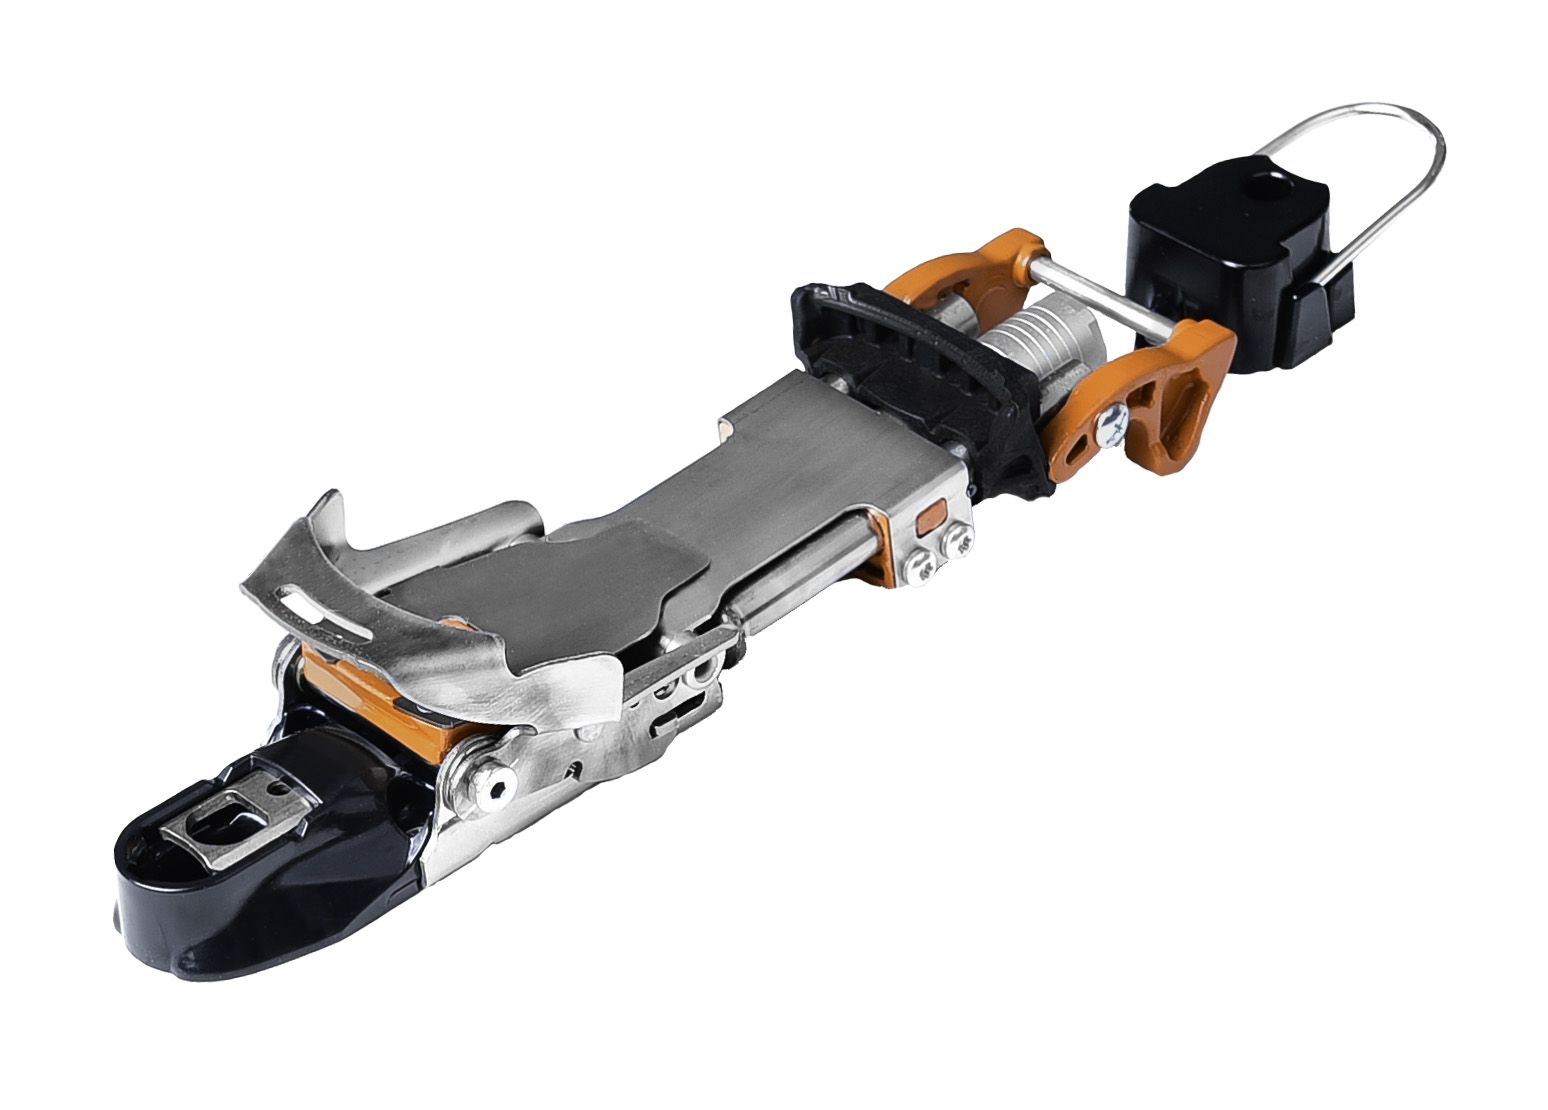
I have them mounted on the NTN Freedom which are Okay but I’d love a more progressive binding such as the Bishop BMF 3 or even a Meidjo 3 with its incredible lateral stiffness.

TELEMARK CARVING TIPS

Outside Ski

Telemark skiing in all conditions, I’ve spent a lot of time trying to stay balanced in variable conditions such as moguls, powder and I was a big proponent of having your body weight distributed evenly 50% – 50%. I still think that this ability is great in a lot of situations but for carving I’ve definitely moved away from that to focus on 70% on the front ski which in terms of technique is described as being the outside ski to the centre of the turn.

There are many reasons why this is helping, but the main reason is definitely edge pressure. The other one is the way you can increase your angulation.

70% is just a mental reference, and I have never measured the actual percentages. And there is a limit to how much pressure you can put on your outside ski to keep your telemark stance efficient and balanced. Finally, I would say that the weight distribution varies during the turn and depending on turn shapes, so I could say a lot more on the subject.

Rotating the femur

This was a new concept for me

I am very good to angulate from the knees and I love to use my back knee to create a good edge angle. But this tip uses the biggest articulation in the body and for this reason is super strong to oppose the forces of carving.

At the start, when I feel that I’m strongly edging, I will focus on rotation my femur on my outside leg (front leg). This will help a lot to create opposing force to the turn and to start turning. I’m still exploring this feeling so more to come in the future.

This can only work if you have a good weight distribution, meaning that you need 70% on your outside (front ski). So here is another reason why overloading the outside ski is great.

Early Edging

Focus on horizontal extension at the start of the turn to get the new lead change edging as fast as possible.

I did understand the advantages of horizontal extension, but I now understand the advantages of an earlier extension to gain earlier edging.

I focus on the moment of release at the end of a turn. This needs to be a combination of letting the skis go under you into the new turn a bit passively and to put pressure immediately on the new outside ski (this will become your front leg). This weight shift is the key to get the early edging and this allows the skis to bend into the carving arch sooner, creating a nice constant turn.

So really the goal is to preload the ski to arch sooner so that when the pressure builds up in the turn, the ski is already in the right shape to push against the snow. I would say that this is the key to start carving in steeper terrain and at higher speeds.

FYI, this early edging is right before the femur rotation I talked about above.

Breathing

Focus on breathing out at the end of a turn.

This tip has helped me tremendously and it was the first tip that Denis gave me that I was like: Okay, this guy really knows his stuff.

Telemark is a lot about coordination. To breathe out at the end of the turn as many advantages. First and foremost, it helps synchronize the most important part of the turn, the lead change. I feel that by exhaling at the end of the turn, it gives me a timing and rhythm to consistently start the sequence of the turn.

Second aspect might be psychological, but it works for me. Actually, it works really well. I feel that by breathing out, I have more room to angulate at the end of the turn. Try it, it’s fascinating. It’s like if my body is freer and it gives me a last little movement to really help close the turn.

Closing the turn means that you slow yourself by completing the circle of the turn a bit more like if you were going more uphill. (This is just a figure of speech as most often we don’t literally go uphill.)

I like to play with the breathing out speed, exhaling slow on long radius turns and exhaling super fast in short radius turn.

Different angulations

Breathing leads me to talk about different types of angulations.

Explain briefly, angulation puts your mass over your edges by moving your upper body in a C-shape. You can angulate from the knees, from the hips and the spine.

For this article, I want to focus on hips vs spine. I never understood that there was a difference between the spine and the hips moving to counterbalance the forces of the turn.

This year Denis was focusing a lot on my hips moving at the start of the turn. He then told another participant in our clinic to stop using the notion of squashing an orange into your rib cage. This is what I will call spine angulation.

This is a tip given by Mike And Allen famous Telemark Tips book.

I was surprised by Denis comment and we didn’t get the chance to talk about why he gave that telemark skier that tip.

But it struck me that this was actually two separate movements.

So I started to experiment. At slow speeds, moving only the hips is definitely not working as it’s just too big of a body part. On the opposite moving only the rib cage into the hip bone (Spine angulation), squashing an orange is not strong enough at higher speed and is a more complicated movement for steeps than simply moving the hips.

So here is where I stand and that I’m experimenting with. I now start the turn focusing on moving my hips, like if I was sitting inside the turn. This movement focusses on keeping my upper body straight and to angulate more as the turn progress. This is what I call hip angulation. It typically happens between the start of the turn and a bit pass the fall line at the middle of the turn.

At one point I will be limited on how much I can angulate from the hips, and depending if the turn needs more angulation, I will then start to arch my spine, moving my chin over my outside ski. This will get my spine to arch more and more and to cork my upper body over my edges. This is where the tip to breathe out actually helps create even more of this spine angulation.

Sharp Edges vs Race Sharp Edges

I’ve always known that sharp edges are important but this next tip is the real cheat code.

Getting new skis every year, I know that sharp edges are a game changer. Over the years, I’ve gone from sharpening my own skis carefully, to sharpening then very crudely, to not sharpening them at all.

You have to understand that as a ski patroller the chances of hitting a rock during a day are very high. So the dedication to keep edges sharp are mostly a waste of time.

Having dedicated carve skis have changed that.

The Cheat code I’m going to share now is definitely not for everyone.

Read this carefully, you need to be very confident and skilled to do this safely. But Oh my God, what a change.

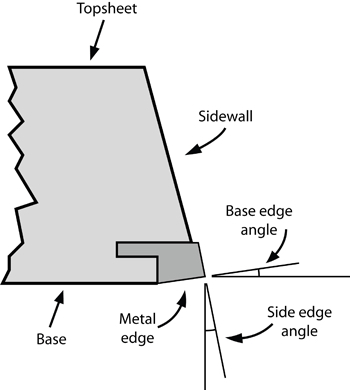
I started to have my skis sharpen at an aggressive angle like ski racers.
ski edge angle

Ski manufacturers typically have angles that will enable the average skier to perform on any terrain. Those angles are the base angle of 1 degree and the side wall angle of -1 degree. Technicians usually refer to this side wall angle saying 89 degrees.

I went from a side wall of 89 deg to an angle of 88. This per se will not make major improvements.

I went from a base angle of 1 deg to an angle of 0.5 deg.

This combination is the cheat code. Edging as become SO easy. The difference is CRAZY. Really.

But it comes at a price. Your ability the slip in and out of your carve is drastically reduced, meaning that your skis will want to edge and to stay on edge. To reduce that, you can unsharpen the edge at the tip and tail, but in my mind, it defies the reason why you got them to sharpened this way.

Racers will even go to even crazier angles such as 87 and 0 degrees, which I am not ready to try. This is how they succeed in staying on their feet when completely off balance on crazy steep icy slopes. Because you can clearly see the off balance is supposed to make them fall.

AAAAAH Now I know how they do it.

Here is a progression I would suggest trying as you improve your skiing.

All levels of telemark skiers who want to carve: Keep your edges super sharp, sharpening them every couple of days on the slope. If you can, use a diamond stone after every day on the mountain.

STEP 1: You want to start to learn to carve on green runs, keeping both skis arching and leaving two tracks behind you – » keep your edges at 89 and 1 deg which is the manufacturers recommended angles, unsharpen the tip and tail about 10 cm.

STEP 2: You want to start carving on blue runs, keeping your skis arching and leaving track behind you in good grooming condition. – » Keep your edges at 89 and 1 deg but do not unsharpen the tip and tail.

STEP 3: You want to start carving on green  and blue runs in hard-packed conditions (not icy yet) -» increase your edge angle to 88 and 1 deg (or 88 and 0.7 deg if your ski tech can do that) do not unsharpen the tip and tail.

STEP 4: You want to start carving aggressively on blue and maybe black runs -» increase the edge angle to 88 and 0.5 deg. do not unsharpen the tip and tail.

STEP 5: you want to race and carve aggressively no matter what – » well I’m not there yet and I would use caution here advising you on something I’m not familiar with. Maybe it can come back in the future and keep you updated.

I would suggest you take these steps very slowly, maybe trying one setting for at least one season.

Also, changing edge angle will remove a lot of metal on your ski edges, using them prematurely, so make sure you don’t go back and forth too many times.

Did you like this kind of format of blog?

I understand that this is not going to help as many telemark skiers than other lessons I’ve given. I give you my perspective, what I’m working on and what I have improved lately.

Leave a comment if you have any question or to share your perspective on carving on telemark.


My Teaching Philosophy for Telemark Instructors

10841787_352796034903758_8497878569894672367_o

Hello Telemark Tribe,


I was contacted by CANSI, the Canadian Association of Nordic Skiing Instructor to write a paper to my fellow instructors. Unfortunately, it never got published so I taught I could share it here.

Here is what I wrote for my fellow teachers.


When I teach telemark skiing, my number one objective is for every student to retain a clear learning objective and to know precisely how to achieve it. 

Too many times, I have taken the wrong approach by trying to have my students find instant results with advice such as: “Do this, move like that…” Sometimes it works. But often, it does not.

As telemark skiing instructors, we want to give our students several tools to achieve a given movement. Our goal is for them to be confident in the way they improve.

Introduction— The Absolute Telemark Way:

Every time I meet with students, I want to know two things: What they feel good about (their Positives) and what they want to improve (Their Objectives).


The positives

First, I will ask them about their experience, their strengths and what they have improved on recently. My goal is to quickly assess their mental game, because learning starts in one’s head. I am looking for positive thoughts. I will ask about things that they feel good about:

  • Types of terrain (groomers, steeps, trees…)
  • Types of turns (short, long, speedy or not…)
  • Types of telemark stance (low, active, high…)

I only ask specific questions if they cannot seem to bring positive ideas. I want to know what makes them feel good before what they want to improve.

If they are new to telemark skiing, I will ask them about their skiing or snowboarding abilities, or other sports they practise. 


The Objectives

Subsequently, I will ask them about their expectations and what they hope to improve.

All this takes about three minutes. If I have a large group of students, I will shorten this part and go for a direct question:

“Describe your telemark skiing experience and comfort level.”

Once I have compiled everyone’s input, the lesson starts. 

I could go many ways from here, groups, first timers… But for this article, we will use the example of a one-on-one lesson with an experienced telemarker searching to improve.


Initial Approach

We start with a warm up run. I will lead for the first third of the way. Then, I will stop to see how my student is doing. I will then let them take the lead so that I may assess these points:

  1. What is making them waste energy?
  2. How is their body balanced?
  3. What path or choice of lines do they make going down the mountain?

I want to integrate the student’s requested areas of self-improvement to what I observe and apply it to a specific type of terrain. 


The Path to Improvement

People like to know promptly what you think of their skiing. I will often stop my students before the end of the first run to give them immediate feedback. If you both see eye-to-eye, their confidence in your teaching skills will be boosted.

Be forthcoming in your evaluation but, formulate it so that they feel their past efforts were not in vain. Remember to remind them that what they are doing is working for them. 

“If you do something and you feel it’s working, then it’s working. If you feel like you are doing something wrong, then it’s most likely wrong.”

It is that simple!


Then, introduce one thing that they could improve on. It has to be related to their learning objectives. It does not have to be directly related. But it needs to be brought up as part of their progression plan. For example:

“I see that you have good balance and that your telemark stance is solid. This is good because it will enable you to gain more rhythm, make tighter turns in the steeps like you talked about achieving. One of the keys to really improve your rhythm is how you use your hands.”

BOOM! 


You just reminded them of their positives, you have pointed out a possible solution for them to reach their goals. The direction: better rhythm, and the way to get there: your hands, are clearly pointed out. 

You now have their full attention. They will focus on doing precisely what you suggest, knowing that it will lead to them achieving their goals.


Building a Plan

This is the “easy” part. This is what we do as a telemark skiing instructor: Build a series of exercises that will get your student to discover new movements, thus getting them to where you think they should be.

Here are a few things that make a plan work regardless of the selected drills:


Share the Plan Before Doing the Exercises. 

Take a minute to explain to your student the expected outcome of your plan. 

What will they gain? If the exercise is about hand movement to increases pivot or rhythm, tell them. Relate it to the end goal; Hands = one step closer to their objectives.


Move Quickly From One Exercise to Another. 

Do not stick with one exercise, even if it is working. If it is working, find a variation. If it is not working, find out why and try to address it in the next exercise. 

Find “Ah! Ha!” Moments. 

If you feel that your student has had a great gain, celebrate it. Talk about the success. Try to integrate it to their skiing.


The Psychology of Learning


Remember the moment you learned something new and how you felt about your past struggles, your previous failures and successes? That is the teacher’s challenge!

Now that your students have been working hard for an hour or two, get them back to something they feel good about: terrain, types of turns, body position…


Finish With a Positive. 

Find a way to reveal their original skills at the end of the lesson. Link the newly acquired skills to their original positives. If you did it correctly, your student will feel like they have improved one or more aspects of their telemark skiing technique. They will know what to work on to keep improving. They will associate their learning to you, the instructor.

The worst scenario is a student leaving the lesson more confused than before. They will feel frustrated because they just do not get it. 

Or worse, they will think that they have to learn something completely different because they had it wrong all along. This mindset will not lead to a quest for improvement.


Remind yourself the following:

  • Everybody learns at their own pace.
  • Everybody can execute something in the way their mind tells them to; But the mind has to send the correct instructions.
  • You are responsible for the message in their minds.
  • Practice remains the number one factor for improvement.
  • There is more than one road to progress. 
  • Remember that your taught approach is not the only way to success.


Finally, you have to remind your students the number one rule of learning:

“If it feels good, it probably is. If it doesn’t feel right, it probably isn’t.” 

Because you finished the lesson on something that your student already felt like they were good at, the positive effect will create a good mental state to keep working and improving. 


But there is more to it… It is called proprioception!

I will talk about proprioception next time. In the meantime, you can Google it if you are curious.

That’s it for now,

René-Martin his a certified telemark instructor. He is the creator of Absolute Telemark. You can book a private lesson here


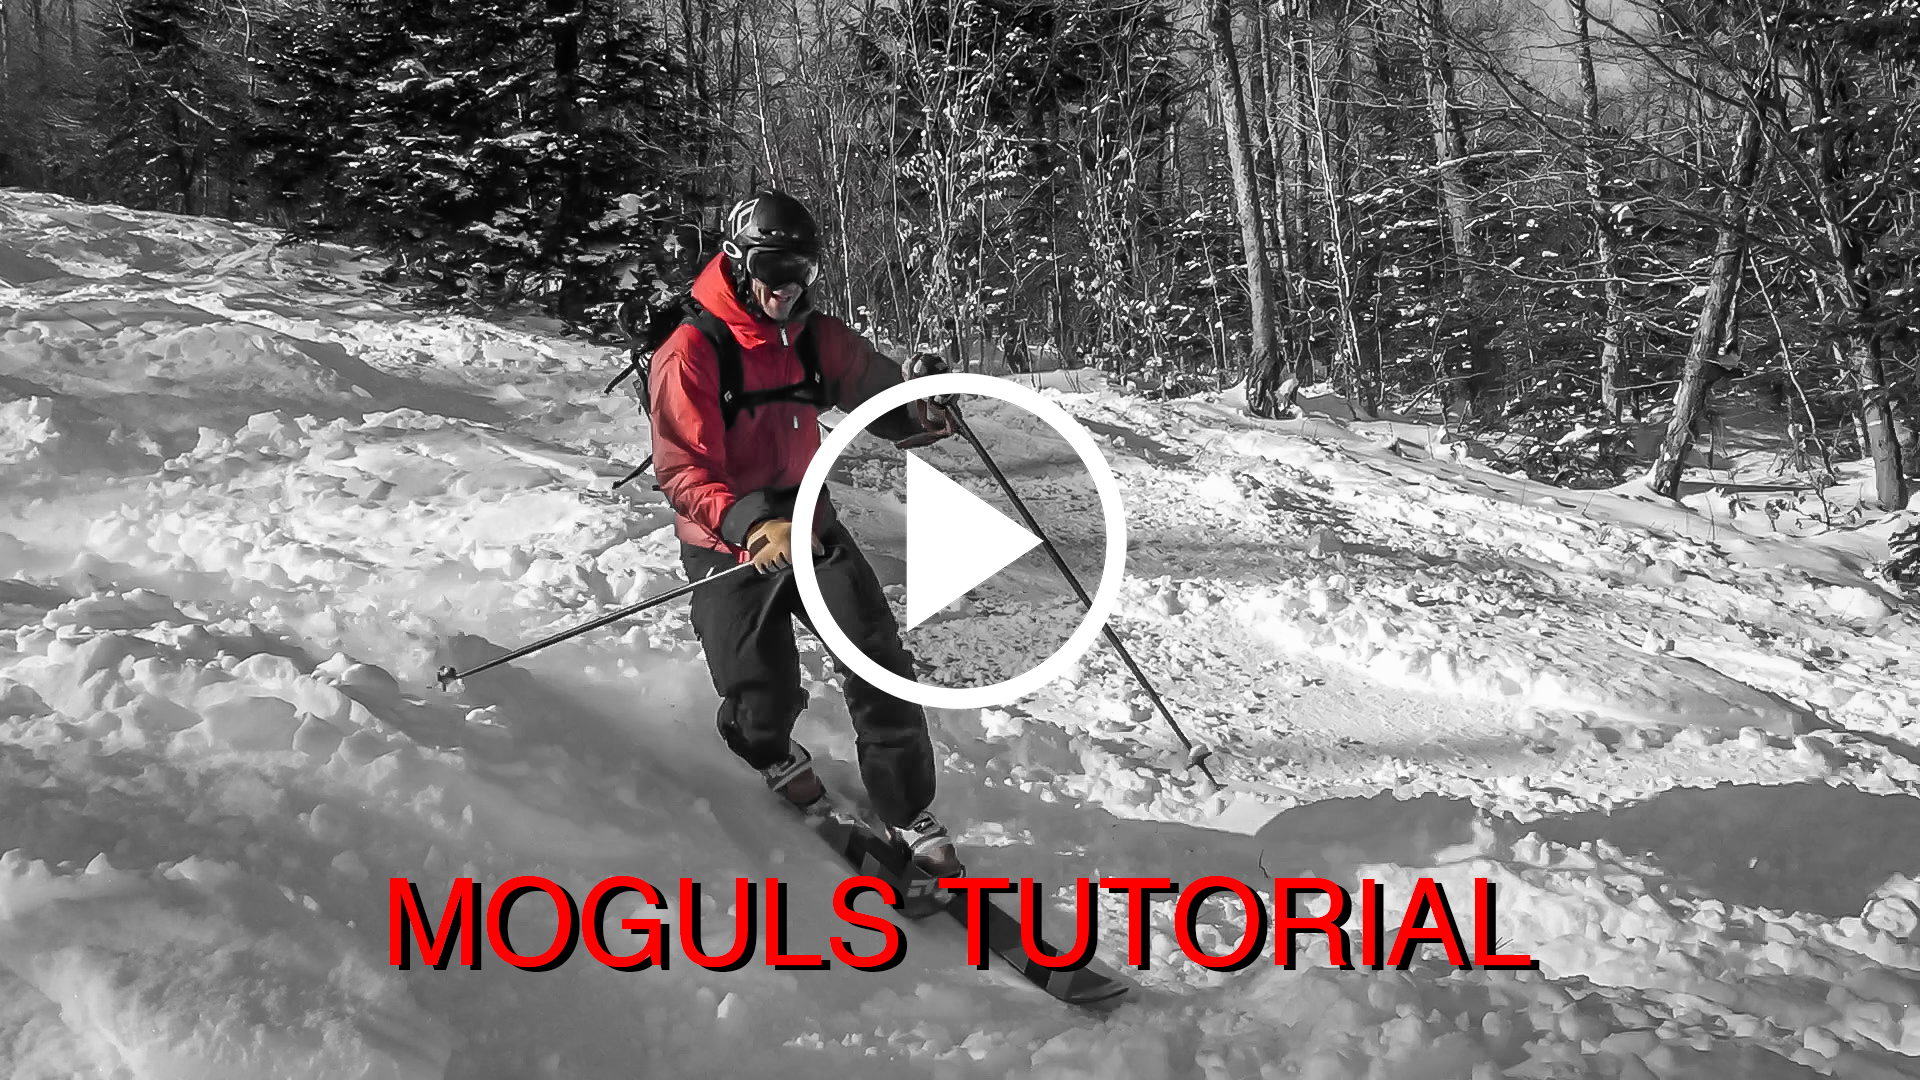
How to telemark in moguls

Moguls telemark picture + PLAY

Hey Telemark Tribe,

Here is a series on how to telemark in moguls. More videos will be added along the season.

I will try to explain my philosophy to understand the bumps like never before.

You will learn and get great tips along the way.

Skip the videos you don’t like but remember that this is more than pointers, it’s a concept that makes a whole.


If you want to full tutorial videos, I got a great deal for you, here:

Mogul Telemark


THIS SEASON: SKI WITH RENE-MARTIN

OLYMPUS DIGITAL CAMERA

Hello telemark tribe.

For this season, I have set myself some goals.

I do this every season.

This season, I want to experience the community like never before.

You have been so awesome supporting this website and I now feel that it has grown into something bigger.

During the winter, I get 20 or 30 emails a week specifically thanking me on how my teaching has changed your telemark technique. Most often, people will talk about how one of the 7 flaws has solved a lot of little bad habits.

This is great but this season, I want to experience something new.

I want to invite you to ski with me in Revelstoke Mountain Resort.

This is a mountain in Western Canada, and I have never been. I’ve heard a lot of great things from Cristina Gareau and Stephane Riendeau, two past guests on the Telemark Tips Podcast.

And so here we are.

Ski with Rene-Martin in Revelstoke

This is made possible by Gendron Travel, Quebec’s biggest ski travel agency.

I’ve partnered with them to organize one week of Telemark skiing in Revelstoke.


WHO IS IT FOR:

  • Strong intermediate and above, you have to be comfortable going down in a strong telemark turn and have experience skiing in powder. This destination is not for beginners. Much of the territory is composed of glades and alpine terrain. Expect moguls, powder and long runs.
  • 19 years old and older

WHAT YOU SHOULD EXPECT:

  • This is not a private or group lesson.
  • This a guided trip with teaching so that you can improve your telemark technics significantly. I will film you, teach you, give you tips, exercises to do BUT, in the end, expect more skiing and less than two hours of teaching a day.
  • Expect resort inbound skiing. No backcountry with the group, but you can always choose to leave the group and ski by yourself.
  • I’m not a travel agency, that’s why I’ve partnered with Gendron Travel. In the end, they will be responsible for putting together your trip, booking your insurance, taking care of cancellation if the need arises… Make sure you address all questions to them regarding these topics. Gendron Travel can also book your flight and offer advice.
  • I will take up to 11 telemark skiers.
  • The price does not include flight, equipment, meals and alcohol. It will include lodging, transportation, ski tickets and my services.
  • The Sutton Place is a 4-star hotel. So, Tele-ski bums are welcomed but will have to shower.

Want to join?

Easy.

All is explained on this page.

Price, what’s include, visit http://ski.voyagesgendron.com/en/2017/09/28/13768/

If it’s meant to happen…

This is my goal

Have a great season.

Rene


Repost: Training for the season

photo training post-2

Hey Guys,

This is the time of the season where you need to think about what will make the difference.


Telemark Training For The Season


This  is a blog post from last season and it’s still extra valid

Make sure you get the training you need, meaning, don’t just copy, make it your own and DO IT.

Avoid injuries, make the most of your season from day one, get to the next level, WHATEVER your age or health.

If you train right, it will make a difference.


021 – Chris Valiante from 22 Designs and the new Outlaw Telemark binding

Outlaw

Building a new NTN binding is a mission 22 Designs set out to do.

The Outlaw, most anticipated binding from the small Idaho company is sure to make some noise.

I had wanted to talk to Chris for a long time. This true step in, simple and though binding have received great critiques and 22 Designs has managed to keep the weight down.

Let’s hear more about this well established Binding company run by Chris and his partner Collins Pringle.

Show Notes for this episode:

the Outlaw and 22 designs Website

Telemark skier Chris is looking up: Paul Kimbrough

Rainey Superloop binding (note from earnyourturns.com)

In 2005, 22 Designs purchased Rainey Designs and continued producing the binding with very minor adjustments to the binding through 2012. They created a free-pivoting version of Hammerhead called Axl that maintained the same underfoot cable routing with easier to adjust power pivot points. The spring system was different than Hammerhead and in an effort to streamline sourcing costs the Vice telemark binding was created, effectively ending production of Hammerhead. It is one of the few, true, legendary telemark binding designs that had an effect on nearly every telemark binding design since its inception although its inventor, Russell Rainey, would be quick to point out even Hammerhead borrowed from other, less successful designs (the Pitbull), only with a better execution.


Telemark Training For The Season

photo training post-2

Get ready to get down!

Train for your telemark season.

The season is about to start and it is the perfect time to get motivated to train and be in the best shape before the season.

The goal here is simply to share  my training on a 5 day a week program.

I do the same things over for one month and it’s worked pretty good for me.

Remember to train according to your capacities. I’m not a trainer and if you are not sure if these exercices are good for you or not, please ask your physician. This is just me sharing my method that is working for me.

Have a great season!

Here it is


Fast track to telemark

Still Fast Track Alpime_Fotor 1000px

Telemark Lessons Fast Track to learn Telmark skiing for alpine skiers and snowboarders HD

here is a new trailer for our web tutorial series:

This tutorial is for intermediate alpine skiers or advanced snowboarders that are transitioning to Telemark.

Our experience have showed that the knowledge developed skiing or snowboarding is  going to make a positive difference in learning Telemark.

This comprehensive course will enable you to progress faster and better. We will go from beginner to intermediate skills  and even how to get started in moguls.
This is a step by step tutorial, with drills for every skills shown along the way .
This is also THE tutorial for telemark skiers that are stock in their progression with an Alpine like position. It will unlock the skills to go in harder terrain such  as steeps, powder or moguls. Note that this is NOT a tutorial on moguls, steeps nor powder. We develop here the skills that will enable with to approach this types of terrain.
Never before a tutorial as been set up like that. We skip the classic approach and give you the best for your buck package.

This tutorial will be available November 8th 2013. Preorder your copy now in our Telemark Lessons section

This tutorial is part of our tutorial video series. If you would like to learn specific thing about telemark technique, leave us a comment below.

Big news, follow us, subscribe to our mailing list, a special Webinar event will take place for our November 8th launch. Sign up below

Pages:12»