
NTN TELEMARK BINDINGS A PRACTICAL, REAL-WORLD GUIDE
INTRODUCTION
Telemark skiing is a turning technique, but it’s not just one thing.
It spans resort carving, powder skiing, ski touring, big-mountain skiing, and even 3-pin bindings with leather boots. Equipment choices reflect those realities, and no single binding fits every skier.
And I’m still a very big fan of 75 mm bindings.
This article is about NTN (New Telemark Norm) and is based entirely on my own experience. I ski steep terrain, I charge hard, ski moguls and trees, I patrol, I guide, I tour, and I carve. I care deeply about how bindings feel underfoot, how they behave after long days, and how they perform when things are less than ideal.
NTN was introduced as a new standard to solve problems that 75 mm bindings struggled with, such as step-in, ski brakes, and power transmission.
This is not meant to be universal truth. Your terrain, your style, your boots, and your expectations may lead you to different conclusions.
My goal is simply to explain which bindings excel in which roles, based on long-term use.
My goal is simply to explain which bindings excel in which roles, based on long-term use. It’s not perfect but I hope it helps you decide on your next purchase.
DISCLOSURE
I receive most of the products mentioned here directly from manufacturers, except Rottefella. There is no sponsorship agreement, no editorial control, and no preview approval. These opinions are based on real use over many seasons. My only goal is to provide accurate information based on long-term experience on snow, in a wide range of conditions.
Categories
THE BIG PICTURE: TWO BINDING CATEGORIES
Modern NTN bindings fall into two broad categories:
- TTS / pin bindings, designed primarily for touring efficiency
- Full-frame bindings, designed primarily for resort and inbounds performance
Each binding makes compromises. Understanding those compromises is far more useful than chasing a mythical “perfect” binding. Altough I think these categories matter, I will simply go with my preferences regardless of the category.
MEIDJO – INWILD – TTS
BEST ALL-AROUND NTN BINDING

Let’s start by the king of telemark binding.
If I could only own one telemark binding, this would be it.
I’ve never done a review about the Meidjo 3.0 but here is my take on the 2.1 version.
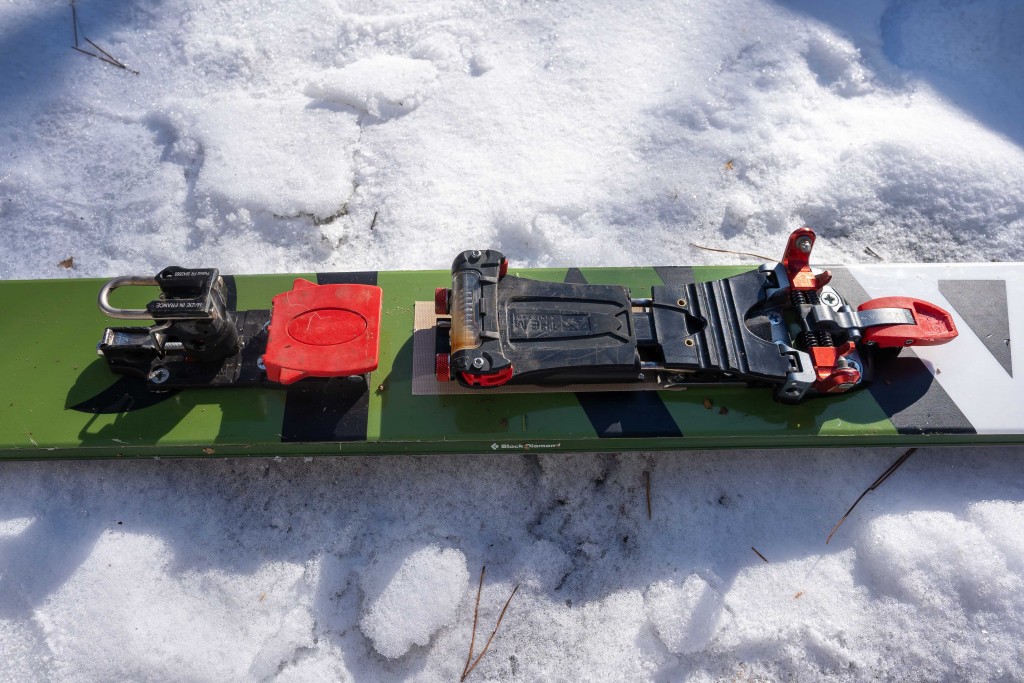
The Meidjo by InWild is a Telemark Tech System (TTS), meaning it uses tech pins at the toe. You need an NTN boot with Dynafit-style inserts.
I have skied the Meidjo for over 10 years. It is the binding I’ve skied the most in my 30 years of telemark skiing. I’ve skied all version of the Meidjo and I’ve skied it uin all conditions.
If I only had one binding, that would be it. Pierre Moyade, product designer of the Meidjo really put it all in one binding. It’s been on mountain guide skis, it’s been on ski patrol skis, it’s been on World Cup racers skis.
Why it wins overall
The Meidjo is the only binding that truly combines:
• Excellent touring efficiency
• Highly adjustable downhill feel
• A reliable release system
• Optional alpine heel locking
• Competitive weight
No other binding covers this range as well.
The Way I Use it
Current setups:
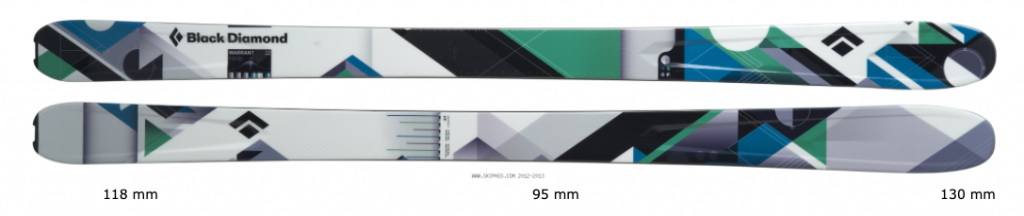
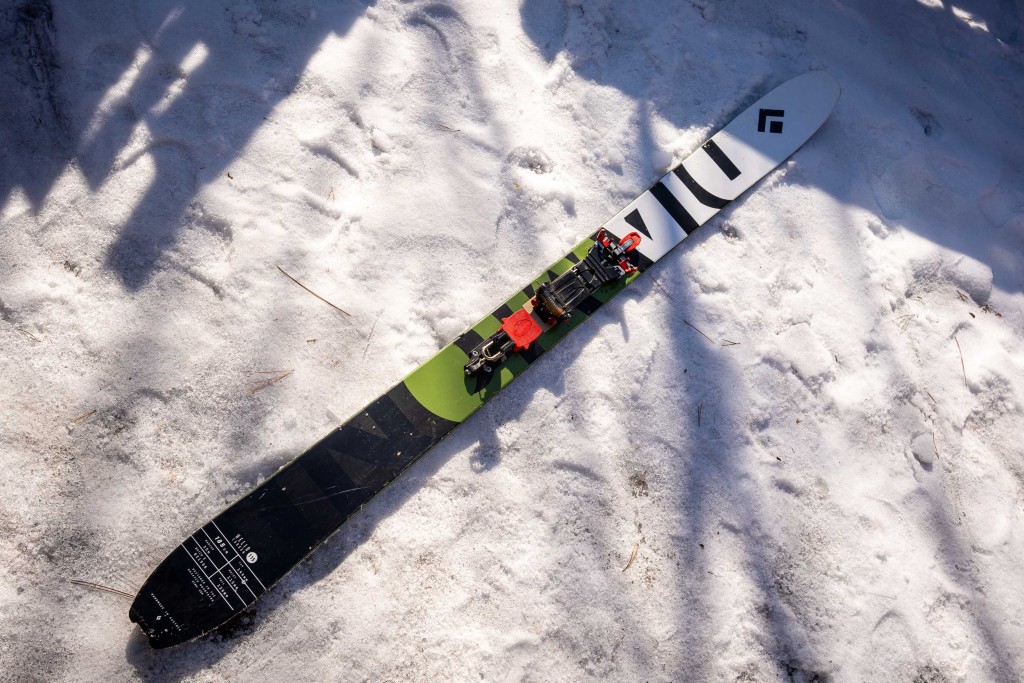
• Black Diamond Impulse 98 – inbounds and short tours (15 days per season) with alpine heelset to lock the heel
• Black Diamond Helio 115 – backcountry touring and guiding (35 days per season) with alpine heelset to lock the heel

I have my Meidjo on the BD Impulse 98 to travel (second setup like that) And it’s been my go-to setup for four Whistler trips in the last 3 years. I will only bring that ski only and teach a week long telemark seminar. Then try to follow my oldest kid, now 21, down steep chute like Lone Pine Tree (skied it with heel locked), DOA on Blackcomb, or Banana Chute on Fissile. Then do the three day Spearhead traverse. This is a long walk where efficiency is king. I don’t bring spare parts, I don’t pay much attention to the binding other than normal care. This binding just works. Having the heelset also adds to the overall versatility, as I could aim for very hard ski lines and be confident about me skiing it whatever the conditions. If I could only have one setup for the rest of my life, this would be it.
On this setup, I have the Meidjo feeling set with the dual spring combo and tension at 3 or 4.
Also I use it on my BD Helio 115 to guide. (I think I’m at 6 or 7 similar setups like that). This is a lighter and more powder oriented setup and it is the perfect touring telemark kit for me. I guide in a place where tree skiing, tight open chutes and a few open fields are dispersed in a wide landscape. My days are on average 13 to 15 km and 1200 to 1600m of vertical. I have to break trail about 75% of the time. Here again, this has been a very reliable setup for me. I LOVE the way this ski floats easily both on the way up and down. With the binding ease of touring, very low weight, this is the perfect combo. Also, I use the Alpine heelset more and more while guiding. At now 47, guiding is a very physical job. I usually guide for 7 to days days straight always breaking trail with a heavy pack. Locking my heel from time to time allows me to be wise about my energy and be safe.
On this setup, I have the Meidjo feeling set with the dual spring combo and tension at 2 or 3.
Pros
Feeling
Overall, the Meidjo has incredible feeling, with very direct lateral response, no deadzone in the early moments of the heel lifting. TTS bindings alike have a very direct lateral feeling. It’s a lot more precise than a 75mm binding and somewhat more precise and quick to engage laterally than a full frame NTN binding. So Meidjo’s lateral stiffness is very good.
The Meidjo’s feel is highly adjustable. It has screws to tighten springs like most telemark bindings. Those screws can be adjusted by hand but it becomes harder and harder to a point that you will need help with a rag at one point.
On top of that, Meidjo has a combo of springs to choose from. You can choose a red or red main spring to have more or less resistance. On top of that (sic), you can add a smaller inox spring that fits inside the main spring. For all my set up, I use the Black main spring combined with the inox spring. On the soft end, it can feel very neutral, almost 75mm like. On the stiff end, I think it matches the absolute maximum stiffness of full-frame bindings like the BMF, Outlaw X or Freeride. Honestly, I’ve never tried the red main spring with the inox spring at max tension. Screwing the spring to max tension would sure not be easy on this binding.
With the stiff red springs, you can easily reach a point where the rear ski tip dives aggressively in soft or chopped snow. For me, that’s the logical upper limit anyway.
Like you read above, I will have my bindings at different tension depending on the use, the terrain, the snow. I rarely adjust it during the day, But I will definitely adjust it from time to time or from ski to ski.
Step-in
For a pin binding, the step-in is excellent.It’s a lot better than the Lynx in my experience. It works as well as, or better than, most bindings on the market, with the Bishop BMF being the absolute best overall. Step in is a two motion action. you first have to align the boot pin hole with the binding claws, This is well implemented but the gap is a bit wider than the Lynx. Once, in, you can simply slam the heel down and you are in. On previous generations, Meidjo would have you lift the whole spring box to arm the system. This is still available but mandatory.
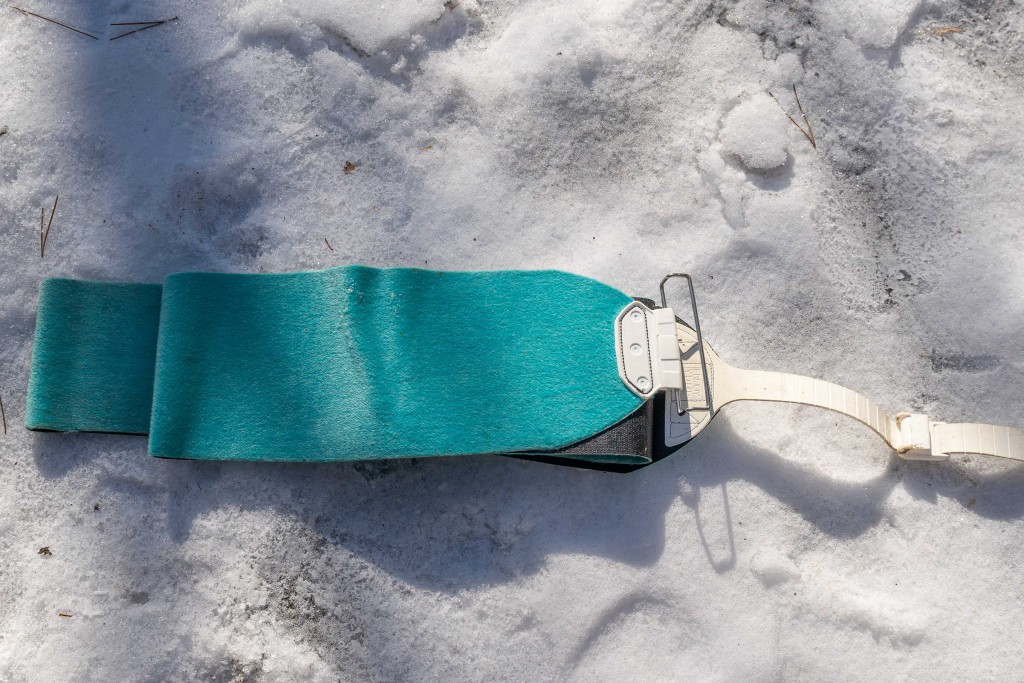
Touring
Touring on pins is simply better. Period. TTS binding is simply a must for touring and the Meidjo makes it easy to transition from telemark to tour. The climbing aids are not my favorite to use with a pole but they stay in position.
Compared to older cable bindings like the Black Diamond O1, I estimate I save around 30 percent energy. That translates directly into more runs, less fatigue, and better decisions.
 Releasability
The Meidjo has the most reliable release system ever developed for a telemark binding. Many moving parts work together to create an excellent releasable system.
It is not DIN-certified, but no telemark or tech binding is. The Meidjo uses its own adjustable release scale, and in my experience it is consistent and predictable.
Recent versions include a sliding heel support that allows the boot to move more naturally during a release.
Weight
It is light. That matters enormously for touring and doesn’t hurt at the resort either.
If you want to recreate the lively, nimble feel of mid-2000s telemark setups, this binding gets you there.
 Alpine heelset
This optional add-on allows you to lock the heel and alpine ski.
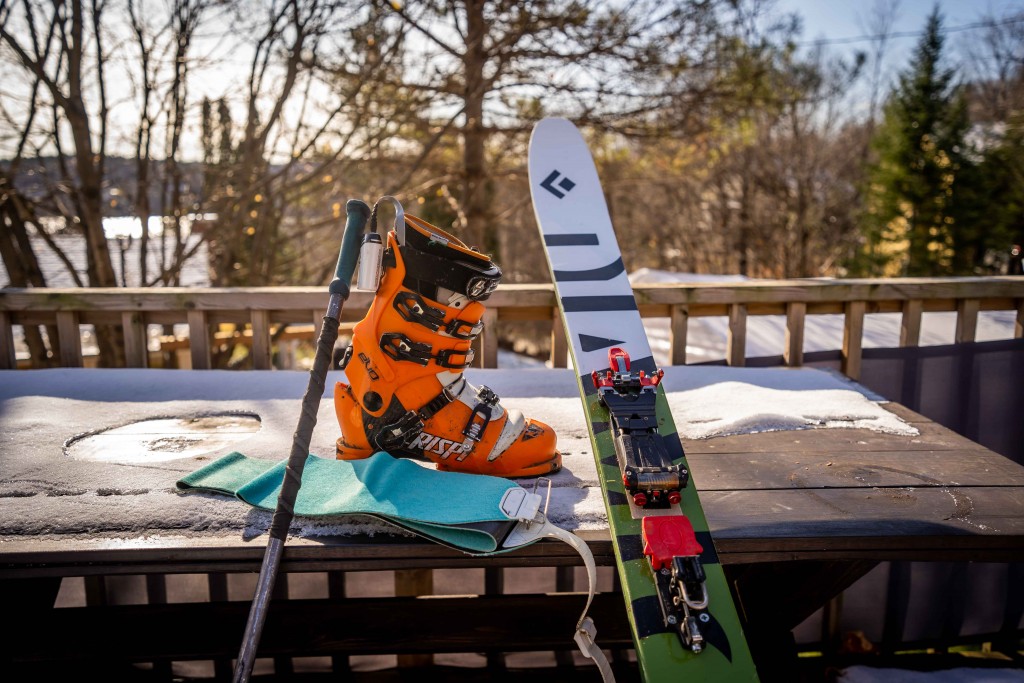
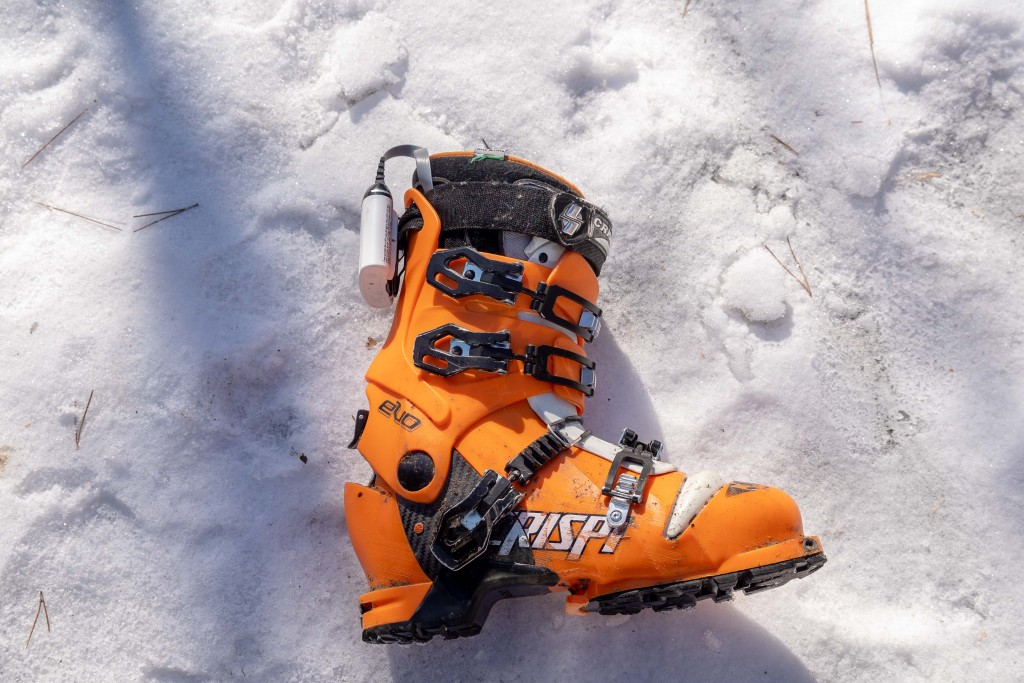
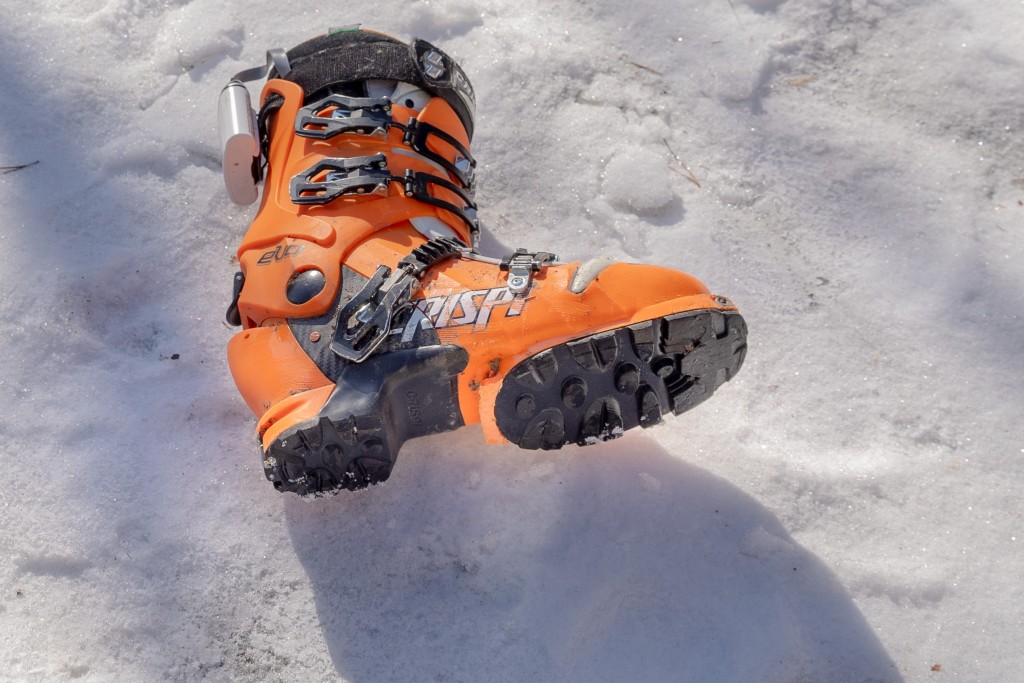
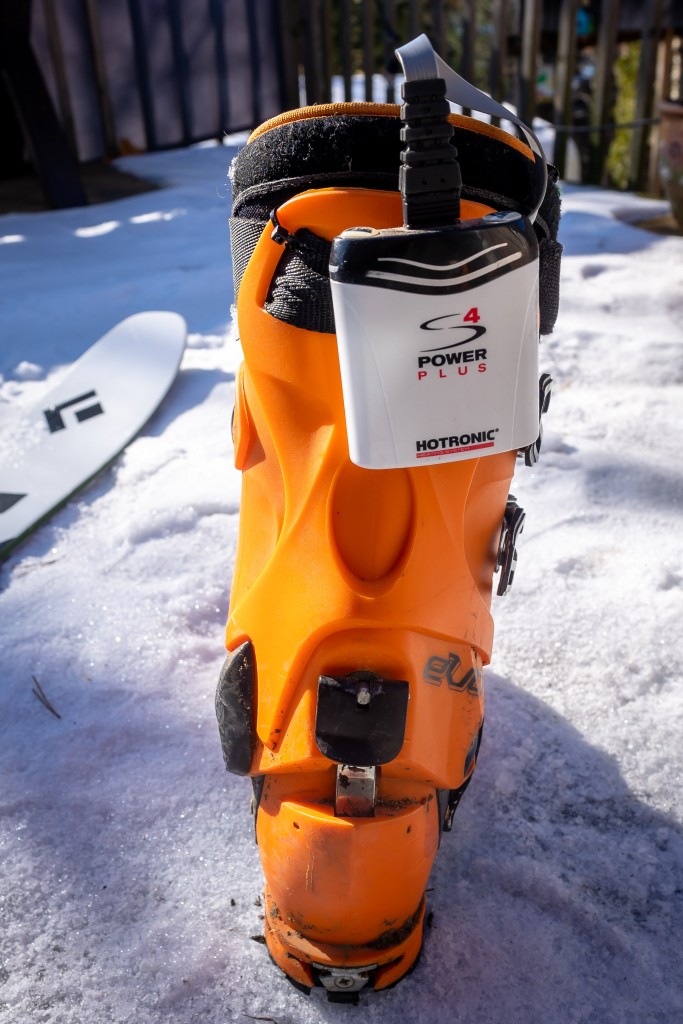
You can telemark and alpine ski on the same ski, with the same boot. For this, your boot must have heel tech inserts. This is one of the main reasons I ski the Crispi Evo WC.
What’s interesting here is elasticity. Lightweight alpine tech bindings often feel harsh because they lack elasticity. The Meidjo system feels noticeably more forgiving and controlled than many bindings of similar weight when skiing aggressively.
Durability
Despite its complexity, the Meidjo 3.0 is very durable. I have never broken a 3.0.
Earlier versions could be broken by bad step-ins. That learning curve still exists, but the risk is greatly reduced. Proper engagement at the toe and second heel is critical.
Cons
Icing
Icing mainly occurs in the second heel cup and sometimes under the main plate, depending on snow conditions.
Clearing the heel cup with a pole is now part of my normal transition routine. An anti-icing sticker helps under the plate, though it wears over time.
See my video on how to de-ice your binding here
Brakes
The brakes are too weak for my skiing style. I break the springs consistently and no longer use them.
Many skiers have no issue at all, so this is individual. Still, this is the one area I would like to see improved.
Mounting complexity
There are many screws. You need a competent ski tech. Swapping bindings between skis is not convenient.
Learning curve
This binding demands some learning and attention. Step-in, especially with a brake is a challenge at first. It can beome easy with practice. Ice buildup can be managed, It’s just the habit of cleaning snow and not forcing a bad step-in. Once the habit is built, it becomes automatic.
Best for
• Skiers who tour, even occasionally
• Skiers who want one binding to do everything
• Any telemark skiers who value versatility, feeling adjustability
Final Thoughts
I have used the Meidjo 3.0 and all prior versions. This is by far the most innovative binding ever made. It might have too many features as far as marketing goes. It’s hard for people to understand how good it really is compare to the competition.
The fact that Inwild aknowledges the evolution through versions is very honest. V1.0, 1.1, 1.2, 2.0, 2.1 and now V3. It shows commitment from a small company to improve and to let people know the evolutions, what was solved.
Now V3.0 is very stable, reliable and trustworthy.
Why do I have other bindings than the Meidjo if it’s that good? Simply because of the low tech step-in and the fact that as a ski patroller, I have to remove my skis so often. Most people are not ski patrollers and don’t have to step in a tech binding on a steep icy pitch while someone injured is in the toboggan.
BISHOP BMF
BEST RESORT / INBOUNDS NTN BINDING

If the Meidjo is the best all-around binding, the Bishop BMF by far the best pure resort binding on the market.
My Bishop BMF full review here
The BMF is a full-frame NTN binding designed around downhill performance, easy step-in, and durability. I currently ski it on my patrol skis (Bishop Gonzo 90 mm) and on my Rossignol carving FIS skis. If resort skiing is your thing, you should not hesitate and go straight for the BMF. They are the most reliable, the easiest to step in, have the best brake system, and above all, the have the most progressive telemark feeling of any binding I’ve ever tried. I’ve said in the past that if this binding had been invented in the mid 2000’s, NTN would maybe not have come to life at all. Oh and It is one-size fits all, quite unique for a tele binding.
Main competition:
Outlaw X by 22Designs
Why it dominates inbounds
- Progressive, powerful,
- Most 75 mm-like feel
- Best step-in of any telemark binding, EVER
- Best brake design, EVER
- Extremely durable construction
Pros
Feeling
This is where the BMF really shines.
The NTN BMF has a progressive flex curve. It starts soft early in the flex, then ramps up strongly deeper in the turn. Power arrives exactly when you need it.
It feels more “75 mm-like” than any other NTN binding I’ve skied. Not identical, but closer than anything else especially if you ski it with less tension. If you crank up the spring tensions, you will get a more NTN like feeling, very similar to the Outlaw X
Step-in et Brakes
Best in the industry. Alpine-like, easy, and reliable in all conditions.
This is a simple sentence, but it’s not easy to accomplish.
I’ve put step-in and brakes in the same category so you understand how different this binding is compared to the competition. Creating a true step in binding for telemark is hard. Creating a true step in binding with ski brakes that creates a true one motion to easily step-in in a steep icy slope, there is no other. Second place here would go to the original Rottefella Freeride but you still have to push down the front tab with your hand or other foot. The BMF only needs a little flip of the plastic lever and it’s very easy to do it with your pole.
As a ski patroller, this is the best binding to use on a ski resort.
Strong brakes that don’t break, without impairing boot entry. No other binding does this better.
Adjustability
Very easy to adjust. I’d say the easiest. Simply use a Phillips screwdriver and you don’t even need force. That’s very different from 22Designs Outlaw.
Huge range, from neutral to extremely powerful. Comparable to Outlaw X at the top end, maybe even more, but can be very very soft too.
Build quality
Almost entirely metal. Bombproof. Multiple seasons with zero issues. In my review I had problems with the plastic lever that holds the heel in place. This was a pre-production model. With the production version, I have never had any problem with that part or any part. This is by far the most durable binding I have ever owned.
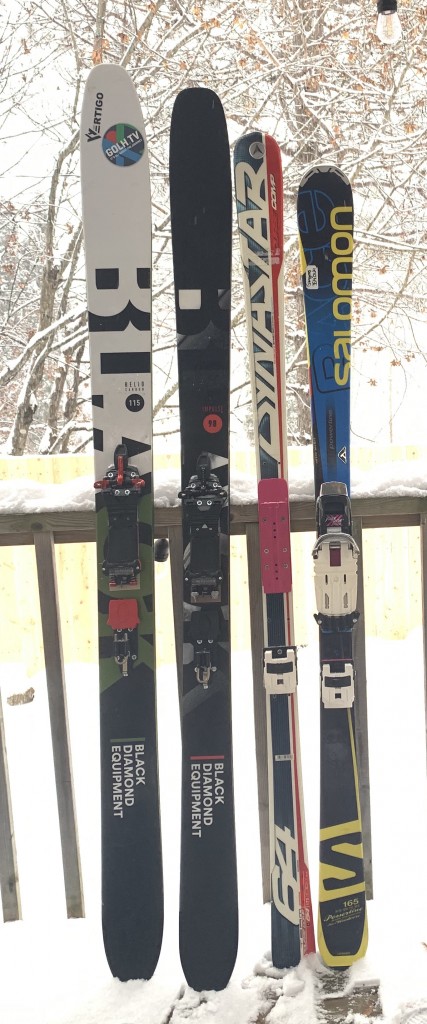
Switch plates
The HD 3.0 Switch Plate allows one binding to be used on multiple skis. Simple and effective. Bolts should be checked occasionally.
You can see that I have 4 skis mounted with plates but only 2 bindings. This allows me to be more cost effective.
No icing
This is unique. NONE EVER. No snow buildup, even when skiing fakie in powder which no other binding can claim
Cons
Touring
Even the touring version (BMFr) cannot compete with pin bindings. No full-frame binding can.
Price
Expensive if you only own one ski. Makes much more sense with multiple skis.
No release
It does not release in a controlled way. This is common in telemark and rarely a deal-breaker.
Best for
- Resort skiers
- Ski patrollers
- Instructors and coaches
- Carving-focused telemark skiers
- Jibbers, fakie fans
22 DESIGNS
BEST VALUE / MOST TRUSTED BRAND
22 Designs is one of the most respected companies in telemark skiing. Their bindings are widely used, widely trusted, and widely available.
They don’t necessarily make the “best” binding in any single category, but they make very good bindings across the board.
Outlaw X
A powerful full-frame NTN binding and the BMF’s closest competitor.
PROS
• Strong downhill performance
• Reliable long-term durability
• Wide adjustability
• Excellent company support
CONS
• Brake tension can impair step-in
• Step-in less predictable than BMF
• More on/off feel, less progressive
Bandit
A newer non-touring binding designed to improve step-in ease. I have not skied it yet, but it looks a lot like the Outlaw X in a cheaper non-touring version.
Lynx
A lightweight TTS binding focused on touring.
PROS
- Excellent touring efficiency
- Strong lateral power transfer
- Simple, purpose-built design
CONS
- No release system
- Minimal tension adjustment
- Icing is hard to clean and the second heel anchor might not want to stay in ski mode.
- No brakes
- No alpine heel option
Best for
- Skiers who want proven products
- Skiers prioritizing reliability and availability
- Lynx specifically: touring-focused skiers
- Can be a good balance between moneuy and performance
Final thoughts:
22Designs have a very strong reputation and is probably the worlds number 1 telemark binding company now. My only gripe with their products are related to the predictability of the step in in all their models. Every one I know find its a pain, but every one gets by with pratice and some bending down.
OTHER NTN OPTIONS
ROTTEFELLA
Freeride
A powerful, rigid binding with an on/off feel. Durable and still relevant for carving skis, but harsh and outdated in design. No true release despite earlier claims. Good interchangeable plate system, simple and cheap. The Freeride is a hit or miss binding. Either you like it or not. The feeling is SO different. Its got almost no progression. It’s a bit floating at the beginning of the flex, with no tension, then it jumps to super stiff and blocks the boot flex at once. Like I said, weird at first. But it creates a super good alpine like feeling where you can really drive the ski.
I’m not a big fan of their brakes but it works a lot better than 22Designs and Meidjo.
To sum it up, Freeride is the furthest away feeling from a 75mm binding.

Freedom
In my experience, the worst NTN binding. Poor touring, inconsistent step-in, durability issues, and icing. Some skiers have had good experiences, but I have not. This is only binding I trully don’t recommand.
VOILÉ TTS
A minimalist TTS design that I have not personally skied. I’ve tried to reach out but never got an answer. No blame here, just saying I’m very interested in their products but haven’t had the chance to try.
Potential strengths
• Elegant, simple construction
• Likely excellent touring efficiency
• Adjustable cable vectors
Open questions
• Long-term durability
• Power on wide skis
• Cable management during touring
• Lack of brakes
FUTURE BINDINGS TO WATCH (2026)
Telemark is small, but right now it feels like we’re entering a new mini-wave of innovation. Two developments are worth watching closely.
INWILD SIMPLL
InWild has presented a brand-new telemark binding called SIMPLL. This is not an evolution of the Meidjo, but a completely different concept. I have just received a pair and will come back with a review.
SIMPLL is designed around simplicity, low weight, and a very natural free-heel movement. It targets touring-focused telemark skiing with fewer parts, fewer adjustments, and fewer transitions.
If everything goes as planned, I should be able to ski and review the SIMPLL during the 2025–2026 season. I’m genuinely curious to see how it performs on snow and where it fits relative to the Meidjo.
ATK TELEMARK (RUMORED)
ATK has publicly hinted at entering the telemark binding market. As of now, there is no officially released product, but multiple sources suggest a lightweight NTN-tech binding could appear in 2026.
If ATK brings its alpine touring design philosophy into telemark, this could push the category forward, especially for touring-focused skiers.
For now, this remains a “watch this space” situation.
FINAL RECOMMENDATIONS
If you want one binding that does everything, including touring:
Meidjo
If you ski exclusively inbounds and want the best step-in and feel:
Bishop BMF3
If you want proven reliability and good value:
22 Designs (Outlaw X or Bandit)
If you tour a lot and want simplicity:
Lynx
If you own both resort and backcountry skis:
One Meidjo and one BMF is an ideal quiver.
These are my honest, field-tested opinions as of 2025-26 season. Your experience may differ — terrain, style, and priorities matter.
If this kind of deep, no-nonsense content helps you, consider supporting my work:
https://www.patreon.com/absolutetelemark


What others think about it